Protected by Copyscape Plagiarism Checker
Showing posts with label arts-n-crafts. Show all posts

Saturday, June 7, 2014

Arts-N-Crafts: Looms and Colored Bands

I just recently found a new, effortless, no-sweat (well, except nowadays when the daytime summer temp never goes lower than 37) and very cheap way to relax myself.

And what is that?

I was down to just this few bits after spending about an hour sorting nearly a thousand bands. Haha.
Ibang level lang ang addiction.
Sorting rubber bands according to color. Last week, I went to Divisoria with my friend Scarlet and we kind of spent 1/3 of our time checking out loom bands. I finally bought a loom kit and burned a couple of hundreds on different colored bands.

I know. It's kind of riding on the latest craze. And so not me at all.

Early this year when I first heard of rainbow looms, I actually was a bit intimidated by it. I wanted to encourage the little miss to try the activity but I couldn't find cheap kits then. But I did find it very creative and I think also quite a nice exercise to test her skills on following instructions since you will have to check out tutorials before you can develop your own designs (well, that is my opinion).

But yes, sooooo expensive for my taste. (I know, I've always been a cheap-o. Not ashamed of it)


Enter friends in facebook announcing Divisoria's latest "hot" product. I just have to find an excuse to finally go and check out what is there to check out. There were plenty (too bad was too scared to take out my phone and steal a few photos)! What's even great, pasok sa budget (which was a mere 500 pesoses if I recall it right).

I just love seeing the colorful mix of the bands. And well, browsing through tutorials kind of revived my dormant crafty [albeit self-confessed] self. I wanted the little girl to get hooked on it thinking this would at least help in getting half of her attention away from her latest favorite (Thank you Lolo Boy for this priceless gift!) toy but sadly, it was me who got hooked and I have yet to find the best way to curve her gadget use.

A few minutes or sometimes [if I'm lucky] an hour during the day though, I am still able to convince her to sit with me. And sort the bands. Hmmm come to think of it, we still bond at least.

A few of my creations just this week. (clockwise: triple single, railroad, inverted fishtail, single loop, single squared loop, Maia's favorite design - the fishtail, and the diamond)
But yes, sorting is such a relaxing activity. I burn at least an hour a weekend doing this. And I'm a better person because of it! [seriously haha]


p.s. I usually view tutorials from this site: Loom Love. But pinterest has plenty of tutorials as well.

Saturday, April 19, 2014

Happy Easter!

Happy Easter! Christ our Savior is risen! Isn't that wonderful?

How are you celebrating Easter?

In my part of the world, Easter is usually celebrated by hearing religious mass as majority of the populace here are Catholics. We did that this morning (with the kid shooting question after question to me. I told her I will give her better answers next time, she just have to give me time to research) and we had shared breakfast at the nearby fastfood joint after. The kid was already very happy with that. Such fun to be a kid. They find joy in the simplest things.

Whatever race, religion, beliefs you may have...I wish you a wonderful, blessed, peaceful, restful Easter.

And as part of our Easter tradition, since egg hunting is still not very popular here, we'll do some crafts activities later this afternoon instead (when the kid wakes up from her long afternoon nap). She asked if we can do different eggs and bunnies later and I found some patterns we can use later. I just discovered this site and I'm starting to love it! Sharing it with you just in case you're looking for some crafts activities to do with your little kid/s later as well.

Easter Bunny and Egg Pattern and more Easter crafts in here. And the activity that started this tradition of our: family of bunnies.

Enjoy!

Saturday, January 18, 2014

Arts-N-Crafts: School Projects

Eversince the little miss started attending formal school (aka traditional school), we have had very limited arts and crafts sessions. Maybe it's the packed weekends. Or me subconsciously choosing to stay lazy on most weekends. Or maybe it's the no TV/cellphone/computer rule during school days. Or probably all of the above. But as I look back at the year that just past, I couldn't recall any particular project that we really labored on as mom and daughter.

Despite the lack of artsy activities at home, I'm happy to report that her school still gives her opportunities to channel out her creativity through regular arts and crafts sessions. These activities are the teacher's way of gauging their motor skills and they're usually being rated on how well they'd cut, paste, apply glue, color within lines, if they can hold crayons and scissors properly, pick tiny glitters and eyes.

Now that she's in kindergarten already, the art projects have become more complicated. But I'm really happy to see that the kid showed huge improvements every time she'd take home one finished project after another. It makes me feel like all those bonding sessions every weekend doing nothing but art was all worth it. Well, not that I was really counting on it coming in handy later on. Those were still moments I deeply cherish with or without the benefit that we are reaping of late.

Anyways, moving on. Let me just share with you a couple of projects I managed to document. In Maia's school, we are often required to provide the materials (the teacher sends us a note a week before the activity) since they were not included in the school supplies list that we have to complete during the opening of the school year.

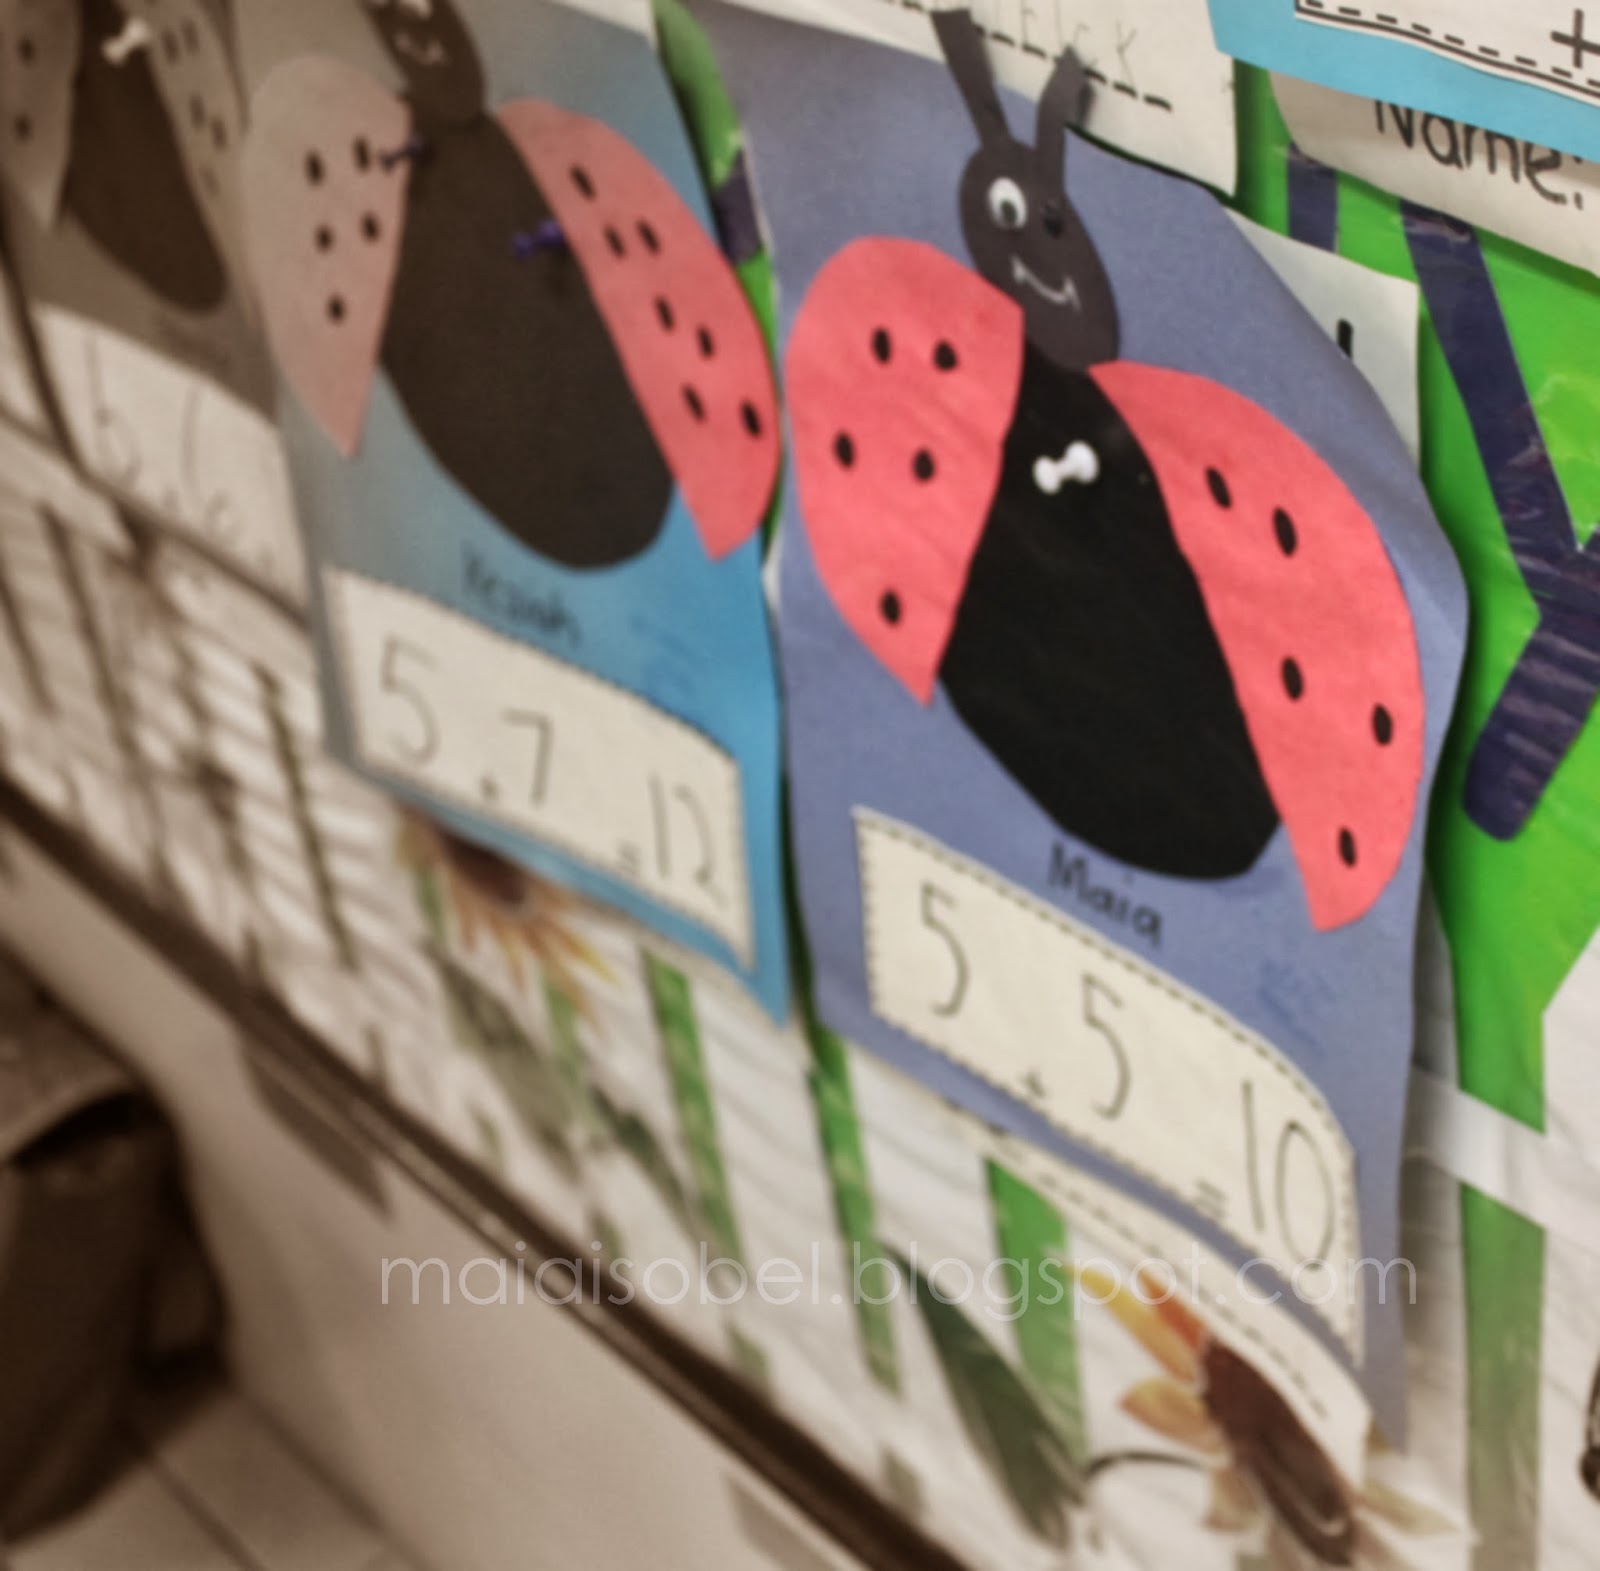
learning addition is fun! (cutting and pasting exercise using construction paper)
Christmas activity (cutting and pasting)
(wreath made from paper plate and christmas wrapping paper and silk ribbon)
Everytime there's a note that says bring tissue paper roll,
my heart gives a silent jump for joy. My hoarding of paper tubes is justified.
This particular activity was a test of painting, brushing, drawing, and gluing.

How they are graded on these particular activities

Adding is fun! And on the right side is a test on cutting and pasting and tracing.
Care to share the art activities your kids enjoy most?

Tuesday, January 14, 2014

Arts-N-Crafts: A Card For Daddy (2014 Edition)

Maia takes credit for every single word on this card. Even for the design, I should say. The only help she needed from me to put this card together was to reglue the frame and cut the photo to fit it. Everything else was hers to take.

Every day she amazes us. I barely have time to guide her in her lessons anymore. And yet, she carries on like a pro. All grown up. Doesn't need mommy anymore. Sigh.


p.s. Oh I take credit though for introducing her to the art of making cards. If there is one tradition that I can claim I started with this kid, this is probably it -- birthday card making!

Friday, September 6, 2013

Preschool Corner: Reviewing For Reading And Spelling

We've recently just finish with first quarter exams and let me just share with you another review tool that proved to be useful to us.

A few years back, I bought a box of tongue depressors for Maia. About 99% of that wasn't put to use at all and I don't have the confidence to use it anymore as Maia already played with the box several times before.

I've used them in several crafts projects in the past but I still have a lot of it left. I've recently been exploring other creative ways of reviewing the kid with her sight words and spelling. Last year, listing them on a piece of paper and posting that paper on the wall worked but this year, it just doesn't seem to do the trick anymore.

Then I thought these Popsicle sticks could be useful too. I wrote the words on the popsicle tips and wrapped a decorative tape on it to categorize the lesson it falls on - short a, e, i, o, u and to tell which week the spelling word was taught.

We created a guessing game out of it and the kid liked it! We were able to review smoothly.

I have yet to see the results of her mastery tests on Reading and Spelling but she already assured us it was super easy for her. Oh well, whatever the result is, I'm already proud to know that she's gain so much confidence already especially when it comes to reading and spelling.


Wednesday, August 14, 2013

Arts-N-Crafts: Cardboard House

I can't remember the last time I did an arts and crafts post but I am sure it has been a very long time already. I could tell by the look on my kid's face when I told her we'll do something crafty last Sunday. She lighted up. Like she really missed doing something with me.

She was actually the one who pushed for us to do this activity. She pointed to a pack of corrugated paper boards that we've had for a long time now and said, "let's do something with them later Mommy ha?"

Who am I to refuse?

I was the one who introduced her to the fun world of crafting. I wasn't any good, I must admit. I bravely plunged myself into crafting because I cannot think of any activities that we can make good use of our hands. But I wasn't artsy, not friends with scissors and even crayons. You get the drift. But what she saw everytime we do an activity was never the aesthetics aspect of our project but the quality of time we spend together. I figured then that's how badly she misses my company. And she has full faith in our partnership, she always believes we make the best art projects in this whole, wide world. (Indulging, eh haha)

After lunch that day, I logged into pinterest and showed her several activities that we could do together given the materials that we have on hand. She initially picked a lighthouse made of what was to be a mishmash of all types of paper (cardboard, tissue, crepe and corrugated paper). Then she saw a miniature cardboard house and decided in a heartbeat -- we are making that one, Mommy!

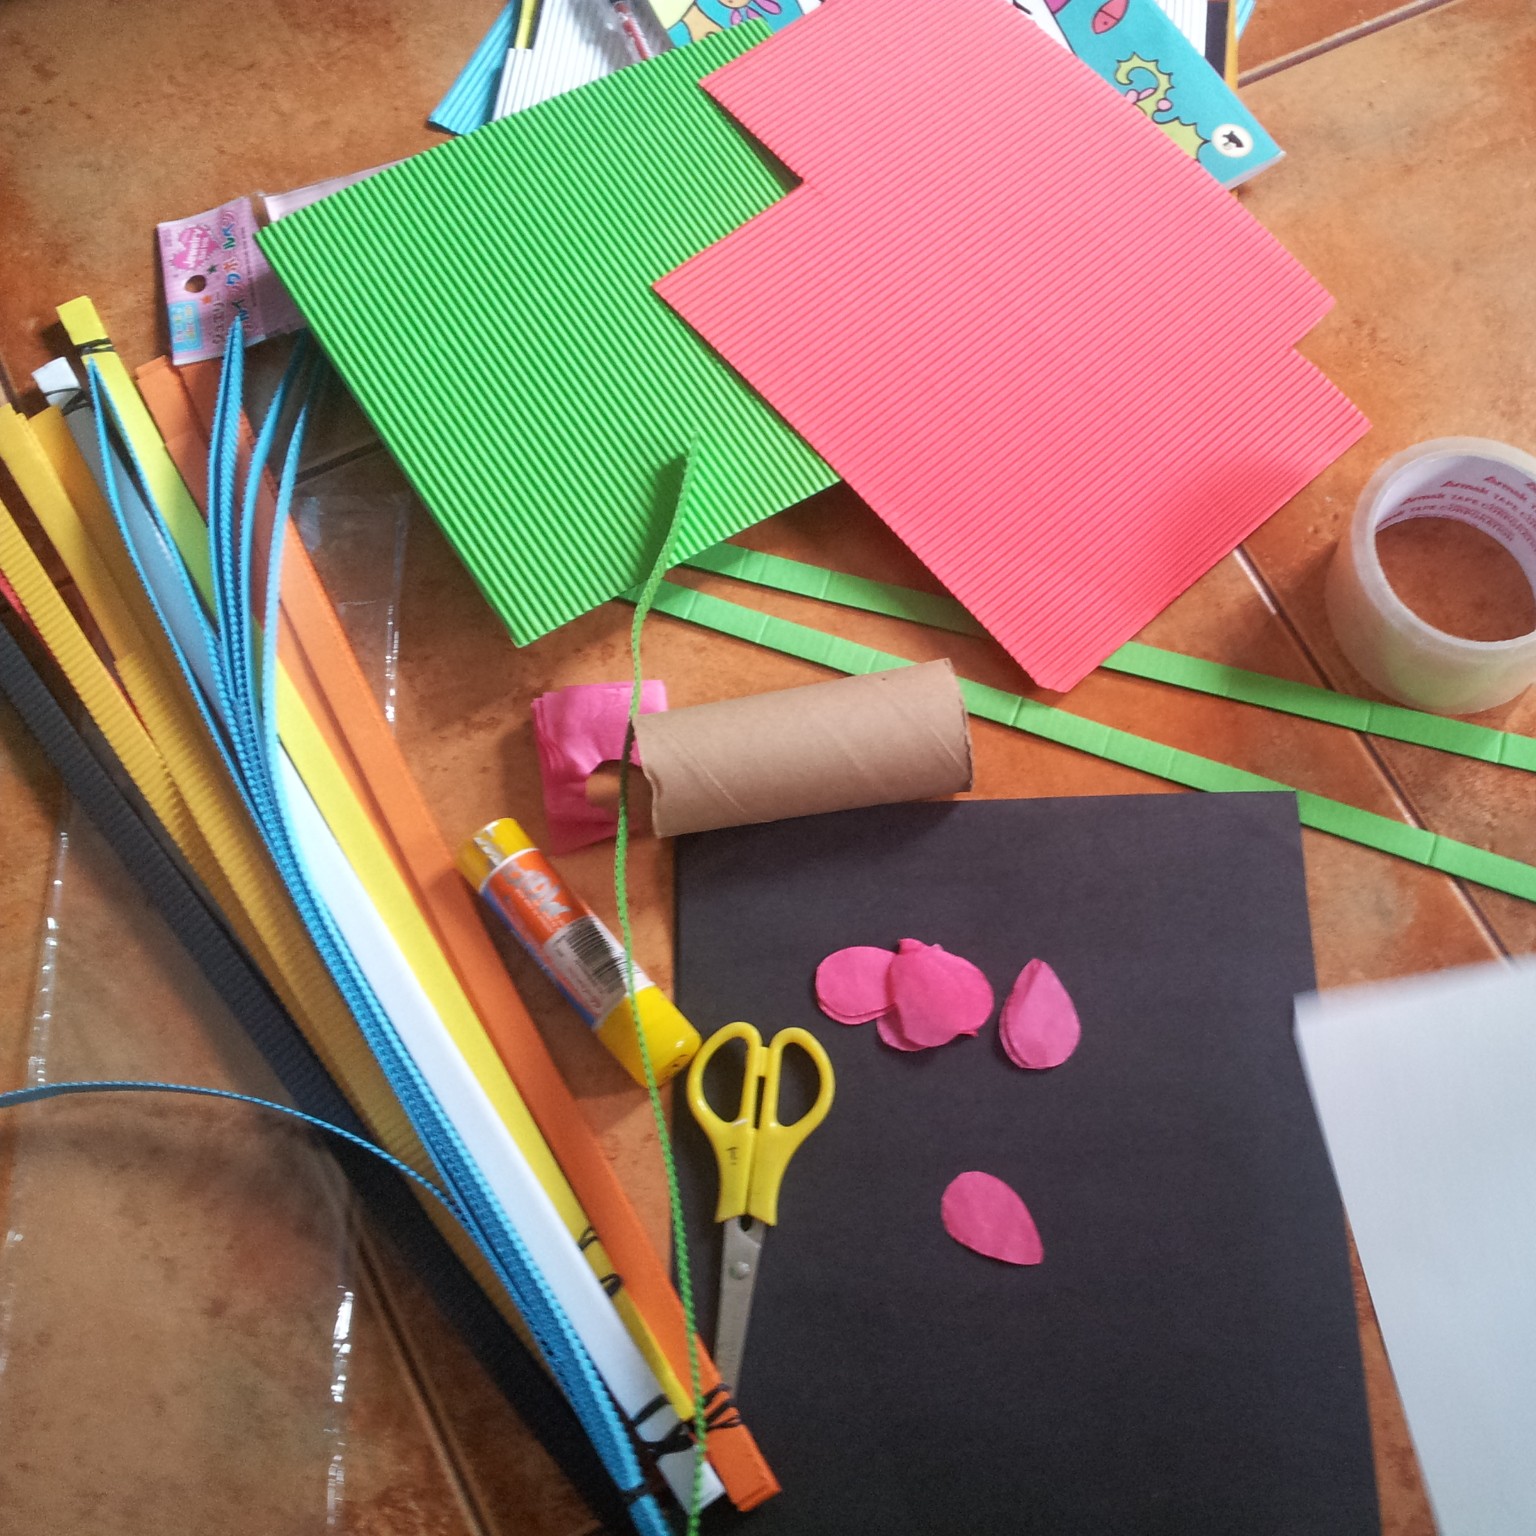
So off we went with the cutting and measuring and taping and glueing...tada! This is what we came up with. The structure was mostly me. But she decorated it with cut outs of different shapes of corrugated paper. We built an art deco inspired miniature house made of recycled cereal boxes and corrugated paper. She also gave it her personal touch by doodling on the walls.

Ain't it pretty? Surprisingly, the house still stands to date. I gave it at least 2 days but she was so careful with it I now think it will last longer than I thought.


Do you enjoy crafts with your little one too? We'd love to see your projects too. Please do share.

Here are the other recycled paper/boxes projects we did in the past:

Easter Bunnies
Truckie From Trash

and more here.
posted from Bloggeroid

Saturday, January 26, 2013

Arts-N-Crafts: A Handmade Storybook (with sight words)

Arts and crafts time is always a fun time for me and my little miss. I guess, what makes it fun and more interesting is because I'm a newbie crafter myself so we're both learning on our activities as we go along. When I plan an activity however, I am not targeting to develop any particular skill. I'm mostly into the fun factor of it...and later on would just realize that we in fact touched based with a certain skill (was that fine motor, wow nice. or hand-eye coordination maybe? great job, mom!).

Now that my kid is a preschooler, I told myself to plan activities that would relate to her class's current lesson well mainly for practical reasons (it will save us some review time during the school week) and also to eternally ingrain in her the idea that LEARNING is A LOT of FUN. So I try to sneak in bits of school stuff into crafts time so it becomes sort of a review as well without her realizing it. 

This last quarter, the kid is already expected to read sight words and a few 3-letter words (CVCs - consonant, vowel, consonant is what that means. I've been seeing that acronym on several review materials but only learned what it actually meant just recently. See, I'm learning a bit or two in this preschool adventure as well). I had a light-bulb moment the other day while we were reviewing for her oral exam on CVCs. While I was listing down the words, I thought it might help her remember if I drew a picture next to the word (I am a lousy illustrator but thankfully, my kid never complained about my drawings). And true enough, within an hour she mastered all 10 words. So I thought, it might be a great idea to introduce the other sight words to her in the form of a story book. 

The proud author of BABY BEAR GOES TO A PICNIC
I initially intended to do the story book by myself and maybe just enlist the kid's help in the cutting and pasting process but this project turned out to be 80% all hers, and 20% (even less as I'm thinking about it now) mine. I merely did the cutting of the paper and binding (and maybe half of the storyline because she eventually changed it to her own version), everything else was her doing. 

The materials we used here, we all had on hand. In fact, they were mostly scraps from previous projects that we did. 

- Cardboard (for the cover) cut in half
- Bond paper/typewriting paper, cut in half
- Googly eyes (2 pairs)
- permanent markers
- newpaper/magazine cut outs
- string

tools - scissors, glue, puncher

I'll let each of the story book page speak from this point on. 

Sunday, January 6, 2013

Arts-N-Crafts: Birthday Card Surprise For Daddy Pogi!

Well, it wasn't actually a surprise anymore since she ruined it last week. She went to her dad announcing that we are making a card for his birthday surprise. That prompted me to ask if she understood what surprise means and apparently, surprise means gift in her preschooler vocabulary. I wanted to sit her down right away and review some words with her but I fought it hard. I thought better to let her discover the meaning of simple words for now. She will after all eventually find out what the actual meaning of the word 'surprise' is. If not, then that would probably be the right time to teach her already. 

Anyways, despite her ruining this particular surprise I still decided to go ahead with the project since we have the materials ready (thanks to Rachel and Coco's Christmas gift!) and she was pretty excited to embark with this project. It's for her Daddy Pogi after all! 

What we used for this project:
  • a piece of kraft folder
  • linen paper (green, because green is the celebrant's favorite color)
  • sequins
  • foam shapes 
  • an old photo
  • washi tape
  • metallic marker
  • scissors
  • glue gun
  • ordinary glue

How it turned out:

I won't discuss the step by step procedure anymore because really, it's just a matter of lay outing and pasting after you've gathered all the materials. The little miss picked the photo we used here herself, probably remembering fondly when this photo was taken. I would've opted to use a more recent photo though, but of course the choice is not entirely mine to take.

Here's a photo of the card. I only helped to position the photo frame but the design was entirely of her choosing. I had to also put in the glue myself because it's really not yet safe for her to handle. Ate Inday and I just helped spell out the words that she wanted to write on the card. Notice how she would put an underscore after every word. Every time we'd say 'space' she would put an underscore, we would later on realize it was because the space bar on our mobile phones and the computer key had an underscore on it. Funny kid, isn't she?

writing her promise down
FOR DADDY
Notice how she wrote the 'spaces'
this was the most interesting part of the card. i didn't expect this one.
can you guess what she drew?
this was apparently a scene from a zoo trip that the 3 of us took.
i was looking for the sun here and she told me "walang sun, kasi gabi na yan"

Sunday, December 9, 2012

Arts-N-Crafts: Paper Wreath

We had fun tearing up the paper into tiny pieces. :)
I stumbled upon this art project in Pinterest (don't you just love this site) a few weeks ago. I've been meaning to do it for our weekend bonding time but I only found time this weekend. It was the perfect tantrum tamer after the kid woke up from her afternoon nap. I think holiday colors are perfect cheer givers. When the kid saw the red and green paper, she immediately went down on the floor and told me she's ready to do our project.

I miss our arts and crafts sessions. Last year, we did a lot of projects during the weekends. But this year has been insanely busy, for the three of us - me most especially - we're lucky if we can really squeeze in one project in a month. I know the kid misses those too but she contents herself with getting me to color a page of a coloring book with her. Some days I would bargain to just share 1 page with her as I'm already hurrying to go to a meeting. Sigh.What did I get myself into?

So anyways, back to our paper wreath it struck me the minute I set my eyes on it because I had all the materials on hand. It needs the following:

  • 1 paper plate
  • red and green paper (I used a mix of art paper, japanese paper/tissue paper, and construction paper)
  • glitter glue (I had gold on hand)
  • white glue

tools:

  • cutter/scissors

Procedure:

  • Make a hole on the center of the paper plate. I followed the dent on the plate and left the side where the corrugated design is.
  • Tear the green paper into tiny pieces (to whatever size you desire). 
  • Spread glue around the wreath base (i.e. paper plate donut) and start sticking your torn pieces of green paper. Layer them till you get your desired thickness (we did 3 layers, i think)
  • Take about 4 inches wide x 8 inches long red japanese/tissue paper and make a crease in the center (by pinching) to make a ribbon. Attach a 2 x 4 inch at the back of the ribbon for the ribbon tail.
  • Dot with glitter glue. And set aside to dry.
  • Punch a hole on your wreath and attach a string so you can hang your wreath. 
  • Hang in your fave spot and Enjoy!!!!


Wednesday, October 24, 2012

My Fairy Princess - The Making Of The Wand

Dear Fairy Princess,

I intended to make this wand tomorrow. But in the middle of my run this morning, I got a text message from your shuttle service operator saying ESS declared a no school day for preschoolers today. I was overjoyed! You see, your dad's office is throwing a trick or treat party for the kids today and I so wanted for you to join. I've been wishing for years but we always had your costumes ready the last minute in the past. This year we were more prepared. You already had your costume ready by the time October hit. I learned about your dad's office trick or treat party last week but since I know that you still have school, I didn't push for you to join since you might get the impression that you can just go ahead and miss school anytime you wish to. No, that's not how we go about with schedules at home little miss so even if it saddened me a bit thinking you're passing up again another opportunity to see your dad's workplace I had to let it go. I have to teach you about priorities and this is one of those teaching moments.

When I told your dad you can now join the trick or treat party, he wasn't as ecstatic as me. He hesitated actually. I guess the idea of being bugged by a little miss makulit at work wasn't a very thrilling thought (you know how daddy hates being thrown out of focus). But since I am also Mrs Makulit, he relented. Not with some conditions though - that you only leave the house when the rain lets up and that you let us sift through the candies you get before you start eating. You agreed to all conditions. I went to pack up your stuff for him to bring with him this morning so you and Ate Inday will have a worry-free commute later.

That's when I realized you don't have a wand yet (and a headdress actually to complete the attire but I immediately set aside that thought else I'll just succumb to panic) so I frantically got my crafts box out and started working hurriedly on a wand. I already had a design in mind but I mentally computed the time it would entail me to finish and decided on a simpler version for now. I thought I will just add more embellishments tomorrow.


So what were the materials that I used to make this wand?

-a piece of balloon stick from a balloon that Maia took home from a Jollibee party (which I hid from the hubby else he might again scold me for hoarding trash) 
-a silver fabric ribbon saved from last year's Christmas gifts
- 2 pieces of 6 inch silver strings (sorry I don't know how they're called exactly)
-a ball of cotton for stuffing
-felt fabric (leftover from my holiday project)
-a tiny green pompom
-needle and green thread
-magic tape (to seal the bottom)

I just wrapped the silver ribbon on the balloon stick and stuck it in between the star-patterned felt fabric that I stuffed with cotton. I sewed the edges to seal off. The pompom in the middle is there for a purpose. I actually hides the stitches that holds the stick. The silver string that I attached on the sides were just a spur of the moment thing because I wanted it to sort of 'sparkle' when you wave it.

So there. I made you a wand. In 15 minutes. I am flash mommy! :)) I'm kinda proud of myself for coming up with this wand that fast. 

Sadly (and I'm a little heartbroken), your trip to daddy's office didn't push through because dad wasn't able to register you on time. They had a cut off and it was last Monday. You cried when I called to break the news but Ate Inday tells me you're all better now. And you seem to have forgotten about it already. 

So anyways, this wand won't be wasted at all. You still have the weekend coming up and you're going trick or treating with your cousins and Ate Chloe. It's still going to be lots of fun. And you're going to be the prettiest fairy princess ever. 

She goes -- MOMMY THIS IS SO PURRRRTEEEEE!
Ang likot lang I couldn't take a decent shot.

Wednesday, October 3, 2012

Printing Woes Solved?


Eversince I discovered the happy, colorful world of arts and crafts, my days have never been the same. I would constantly be found planning and daydreaming of things the little miss and I can do with our hands. So far, our creations have leaned towards upcycling and reusing scrap materials.

Of late however, (especially after doing our recent project) I would often catch myself daydreaming about making personalized dainty Christmas cards to give out to family and friends this coming holidays. I am not confident though that we can go handmade all the way so I’m thinking of designing and printing them instead. One big problem though – we currently do not have a working printer.

Several years ago, I brought home this Lexmark printer from the US but we have since stopped using it because we can’t find ink cartridge refills anywhere. I have been bugging my husband to get us a new one. I’m thinking maybe an HP OfficeJet 6500? At least we won’t have problems with HP 6500 ink cartridges since we can always readily order online. 

I am still working on improving my convincing powers. But I hope I could persuade him to make up his mind soon so I can finally work on this new project with my very creative little miss.

Tuesday, October 2, 2012

Arts-N-Crafts: Birthday Card Project

I recently signed the little miss  up for this birthday card group exchange with 3 other kids. I posted the background story here.

Having recently reacquainted myself with the wonderful FUN world of art and crafts (read: handmade everything), I thought I'd raise the bar a notch higher make handmade cards instead. Ambisyosa. Yes, that's me. This little miss's mommy.

I also wanted the kid to remember this card exchange and I thought doing the cards ourselves would definitely leave a dent on her memory. (Well, we won't know till next year if my experiment turned out to be a success. Of course that's discounting the fact that she still doesn't have a full grasp of dates nor of time yet. Funny mommy, yes again that's me)

So anyways, I thought it was going to be easy peasy. But just as we were about to start the project, I realized I don't know where or how to start. I don't even know how I'd want the cards to look like nor what materials I should use. Thank God there are super women like (who else) Martha Stewart! So yes, I got the inspirations from her (not ashamed to admit just this once).

So I zeroed in on affordable (read: cheap) materials and majority of which I hope is already in my crafts box. I just bought a pack of kraft folders and colored pens. And yes, I am proud to say, that the rest of the materials  we already have on hand.


The materials we used for this project are as follows:

- short kraft folders (bought a pack of 10 for P35, if i remember correctly)
- transparent alphabet stickers (P49/pack)
- craft envelopes (on sale at national bookstore, pack of 10 for P8.50)
- leftover felt cloth from my holiday project last year
- beads also a left over from my holiday project
- colored yarns and threads
- craft scissors
- crayons
- construction paper
- ribbons also a left over from my holiday project
- permanent marker

Here's how the cards looked like before we personalized them:

let it be on record that we worked on these for 2 weekends.
and had to do several trial and errors before we finally got them right.
The little miss also made her own version of the birthday cards and we're sending them along with these. All 3 kids get their own personal cards from Maia. I just hope they will be able to pick up the message from those cards. Here's a sample of her card masterpiece (and we're really proud of this. we would want to keep  and frame them but well, she made it for the other kids so it's really not ours to keep):


I initially wanted to do the card messages using watercolor but it might take me one more week to finish so I went with the ever reliable permanent market instead. Kid was proud of what we did. And I hope A, M and J will love them too!

Saturday, July 7, 2012

Productive Weekend - Some Gardening and Arts-N-Crafts Time

It has been a very, very productive weekend for our little miss. I don't know if it's the days she missed in school that has gotten her extraordinarily energetic and receptive of every activity that I suggested for her to do this entire weekend but what I know for sure is that she enjoyed every bit of those activities.

Saturday, a village playmate dropped by early for a playdate session. The little miss was actually insisting to watch TV (because it's a weekend mommy) but since I'm still not fond of TV time I wanted to veer her attention away from it fast. And what immediately came to mind was this recent project that a fellow n@w Mec did with her boys. So I got some scrap manila paper, a used cardboard box and old magazines. With Ate Inday's help we cut out some leaves from the magazine paper and traced the two girls arms on the cardboard to resemble tree trunks and cut that as well.

Here's some photos I took to document the activity:


Then today, Sunday, Ate Inday got her involved in planting some of the vegetable seeds that Lola brought home last night from a trade fair at the World Trade Center in Pasay. I just proved that TV never stands a chance against any outdoor activity at any given day for this little nature-loving girl. Despite being a little neat-freak, she doesn't mind getting her hands dirty as long as it involves some planting/gardening.

I had been keeping these eggshells for future mosaic projects but they're starting to irritate Tibs already (having been sitting on our backyard for long and some of them turning moldy already) so Ate Inday thought might as well make use of them. Our plan is when the seedlings start to sprout, we will just break the eggs to transplant them directly unto the soil.
seeds galore!
making good use of our eggshells
our little patch of garden heaven. hoping to turn this into a patch of various vegetables soon!
(waiting for pechay and tomatoes to sprout from these eggshells soon)

Monday, July 2, 2012

Arts-N-Crafts: Learning To Write Numbers Reviewer

One of the first struggles we faced on our first month in preschool is writing numbers. Well, writing is a struggle in itself but it is in the numerals that we struggle with the most.

I couldn't remember when I first learned to write. But what I can clearly remember though was the first time I wrote my full name. I wrote every single letter of my full name backwards. Just like how the image of something written right would look like when placed in front of a mirror. I wished I kept that tiny piece of paper to show to Maia now. (On second thought) Well I probably did being the pack rat that I am but again also being the greatest sucker at keeping things organized I most probably lost it in the flurry of moving to our new place in my teenage years.

So anyways, (where was I again?) -- WRITING. Yes, we are still struggling with that till now. Zero is done perfectly already. But we're having trouble with the number 1. Just because she really prefers to write it with that tail instead of just the straight line. And because of that, I can only imagine how difficult writing the number 2 would be with its curves and all. What the daddy does when they review is make dots for the little girl to trace. And she's good at doing that. But of course she will still have to eventually learn how to do it without those dots to guide her. That we know (and has been a nagging concern too) very well. 

I researched on how we can help improve her writing but my list of things to buy to make all those tricks happen just keeps growing and growing and yet I never find the time to actually buy them so I can make them. So last weekend, when an unforeseen circumstance kept us home, an expense-free idea popped in mind. I remember seeing my homeschooling friend Mae made these sandpaper cut-out letters for her daughter to trace her fingers on and I thought I can probably make Maia similar numeric cut outs too. I rummaged through my art supplies stash and found these things:

- used placemat
- corrugated cardboard sheets

Maia is currently learning to write 0, 1 and 2. So I cut out these numbers out of these 2 materials. Next, I got some used pancake mix box from my 'trash' box. I cut the small box into 4 equal flashcard sized pieces and then glued the numeric cut outs unto them. After a few minutes ...tadahhhhh, these are what I came up with. (Can you all say - A for the Effort Mommy! Wehe. Nahirapan ako sa number 2 promise! Kelangan mag take 2)
I just hope by constantly feeling the textures on these homemade flashcards that Maia will eventually be able to imagine (even with her eyes closed) how these numbers look like. And just to be clear about it, I'm not doing this to ensure that my kid gets a perfect score on her quizzes all the time. I just wanted to equip her with the right concepts without actually forcing her to write them through paper and pen. 

Monday, June 11, 2012

Arts-N-Crafts: The Philippine Flag

This was a post that I started June 12th of last year. I was only starting to be active with blogging again that time and I never had the confidence to just go ahead and publish my posts. I always had to proofread then edit then proofread and edit again, it went on and on till I totally just lose confidence and eventually abandon my post in my drafts folder. Now, I've just come to realize that firstly, I own this blog. It's my account of Maia's day to day experiences so I am actually only accountable to her (and of course to myself). So there's really no need to hold back (unless I'm oversharing and eventually endangering her and our family, right?)

So anyways, as part of my resolve to bring my drafts folder down to zero (0), I am publishing this post a year after I started writing it. It still is apt to the day since it was after all the first time that I introduced the little girl to the symbol of our 'freedom' and that is the Philippine flag. I will leave the historical background of how this day came to be to Wiki's expert hands. Let me just share with you this simple activity that you too can enjoy doing with your toddler on this lazy Tuesday (and it's a holiday, yipee!).

------------------------------------

Yesterday was a welcomed break from the wet, rainy days that we've been experiencing for almost the entire week. So I took hold of this great opportunity to enjoy some outdoor fun with the little girl. I checked my arts and crafts stash. I'm still starting to build it so I don't have much to go on. I realized though glancing at my basic poster paint colors that the little girl and I can paint the Philippine flag so I excitedly brought out the paints, diluted them with water in unused small medicine measuring cups, laid down our buri mat in the garden, gathered our paintbrushes and invited the little girl for a free painting activity. Maia helped me set up our outdoor activity area for day. I noticed that recently seeing me prepare for an activity excites her in a jumping, clapping way. I get more inspired to come up with weekly activities each time I see that positive response from her.

I was initially aiming for more elaborate crafts projects but at the last minute decided to just go with the free painting activity. After all, Maia still has a limited attention span on most sit-down activities so I was sure that activity was just perfect for now. Plus, we can put up whatever project we would complete after since Tibs and I were able to score some barbecue sticks for P10/bundle at the nearby market when we dropped by earlier after our morning run.

Basic Poster Paint Colors and the Philippine Flag Project by Mommy + Maia
Anyways, here's what you will need to create your own Philippine flag:


- 2 pcs of large sketch/drawing paper (we painted the flag back-to-back)
- poster paint (red, yellow and blue)
- paint brushes (best if you can spare a brush for each color so you won't have to worry about one color being mixed to a different color)
- thick barbecue sticks, blunt end trimmed (we used just one actually since we made only one flag) to avoid accidents
- glue
- double-sided tape

I glued the 2 paper together first then taped the ends with the double sided tape and (rolled) wrapped it unto the barbecue stick. Then outlined the flag and instructed the little girl to what colors to use. She painted freely for a good 3-5 mins for both the blue and red but as expected, I did most of the painting job. After thoroughly painting both sides (and draw 3 stars and a sun on the triangle part of the flag), we stuck the stick unto our garden and let it air-dry. I may have done 90% of the activity but I'm happy that through this I was able to teach the little girl something today. She learned to say 'flag' too! How nice is that? 
------------------------------------


I was trying to think of another project to make today since we've decided to stay home and enjoy a quite holiday again today especially since Maia's grandparents (my mom and dad) are with us. We'll probably leave later for a small family get together but the rest of the day, we planned to be lazy once again. We're done with Maia's homework already so we have plenty of time for play. I'm also asking my dad to tell Maia an independence day-themed story. They'll probably do that before nap time later. 


How's you Independence Day going?

Monday, May 28, 2012

Arts-N-Crafts: Primp-Up-My-Rockies

When Maia was still a toddler, our house converted to a daycare during the afternoons. Maia had made friends with several village kids and they soon became regulars in our household. I never worried about my little girl's social interaction then because she was with a playgroup every day. Her inherently shy demeanor started to fade away as we began to notice that she's started warming up to other kids easily. I can also tell how influential this daily interaction with other kids was to improving her communication skills. She soon became really verbal. She looked forward to these play dates everyday but all that had to end abruptly when Ate Inday left. The kid had to quickly learn to be by herself and instead make imaginary friends to invite to her 'parties'. She coped well with the changes in her environment and we could tell that she finally was having fun on her own but we also know how she longed to be with real kids to play tag, fight over toys and have real conversations with. Now that Ate Inday's back (yes, she's back! yipee!), imagine her delight. It's been two weeks and our house has never been without a kid since! The daycare resumed operations! :)

Even on a weekend, we had a kid over.  So last Saturday while Shea (Maia's BFF) spent the morning with us, I took the opportunity to inject something creative into the kids' day by giving them painting duties. I took out some stones that I brought back from our Antique vacation last April and everyone got busy primping up their little rockies. Even Ate Inday joined in the fun!

Maia, Shea and Ate Inday's masterpieces

What You Will Need:
  • Stones (flat ones are better)
  • Poster/tempera paint
  • Googly eyes/Buttons/Beads
  • Tinsel decor I saved from a few Christmases ago
  • Ribbons
  • Glue
  • Scissors
  • Paint brush
  • Used newspapers
How to do it:

1. Cover the area where you plan to do the activity with used newspapers, grab a stone and paint it with your favorite color.

2. Let it dry in the sun for a few minutes.


3. While you're waiting for your little rocks to dry, the kids can be occupied by free style painting. In our case, we just handed them some scratch papers and they painted away.

Check out Shea's artwork. Isn't that pretty?
This was a funny scene. While Maia was painting on her paper,
I think she suddenly recalled their wet-on-wet painting sessions at St Michael.
She started with "Over the meadow"...
long pause, then she goes "ano nga sunod nun Mommy?" (what comes after that again, Mommy?)
I had to stifle a laugh because I know Maia always gets self-conscious when she hears us laugh over her witty/funny remarks.
4. When the rockies dried up, they each took their stones and started decorating it till their heart's content.

little girl was so engrossed with primping up her rockie
5. Primped up rockies can be made into paperweights and even as storytelling characters. Just let your kid's imagination flow!

Maia and Shea enjoyed this activity. They even showed their masterpieces to Shea's mom when she came to pick Shea up. Next time when I have more kids over, I'll have more art activities ready so they'd always look forward to spending a day in our house (talk of bribery no?). That way, the little kid will stop pressuring me and her dad to buy babies at the palengke (marketplace). Works well for me (since I am on the win-win side here).

Sunday, May 13, 2012

Arts-N-Crafts: A Card For Mommy on Mother's Day

Today was some sort of a downer for me. I spent half of my day fighting my way through Hiragana and Katakana charts in my 4-hour Nihongo class. I felt I was at my dumbest today. I was stuck at learning the alphabets while everyone around me were already discussing and exchanging sentences. And mind you, my classmates were just in their early 20s. Amazing kids. Their memory just blows me away. I'm all praises.

But I'm glad we had a teacher who doesn't give up (thank you, Maam!), 30 minutes before we wrapped up the class I was finally able to construct my interrogative statements successfully and finish an assigned interactive activity with a classmate. That felt really good, I tell ya. Still, it drained me hard and left me with no energy to think of mother's day celebrations. All I wanted then was just to get home and sleep. SLEEP. sleep. All these things happening around me are making me miss a lot in the family front. That makes me even more guiltier than ever. Not that anyone's complaining.

If there's one thing that I realized amidst all these raucous around me, it is the fact that I think I found where my calmness lies. And that is in this motherhood thing. I may stumble in many aspects of my life, but it was from being a mother that I find my strength. I may be amiss on my family duties but they always rally behind me. No matter what. And while I was devoid of energy already when I finally got home this afternoon, I enter our bedroom and find this little surprise hanging by the cabinet door.


Tibs rarely makes the effort to engage on arts and crafts with Maia but today he surprised me with something that I never expected him to do - a handmade card for mother's day. You see that binding on the card, they painstakingly sewed that to convert the cover of Maia's used drawing booklet unto my mother's day card.

Admiring her work of art. She kept pointing at the heart doodles. Ang galing ko Mommy, di ba?
Tibs claims he didn't guide her hands while writing the Happy Moms Day part. Ang galing, galing nga ano?
And one more thing that made my heart flutter was that hearing the little girl say this straight and clearly: HAPPY MOTHER'S DAY, MOMMY!

Oh my heart was just bursting at the seams when I heard that. Of course, that came with her trademark "I LOVE YOU, WE ROCK! SWEET KISS!" But given this and the effort on the card, I just feel I'm the luckiest momma in the entire galaxy!

HAPPY MOTHER'S DAY AGAIN TO ALL YOU FANTASTIC, HARDWORKING MOTHER'S OUT THERE! 

How was your Mother's day celebration?

p.s. Tibs was nursing a little tampo the past few days because Maia has been refusing to kiss him. He feels bad that he now had to coerce the little girl who once generously showered him with kisses into giving him a tiny peck on the cheek while I would just say a simple good morning greeting and get not just one but a pair of kisses on the cheek. So he thinks by writing this, he's finally gotten back at me.

Sorry to disappoint you Sir. But I bet when she wakes up tomorrow, you still don't get a kiss while I -- still get tons.
**Evil Laugh**

Wednesday, May 2, 2012

Arts-N-Crafts: Choo-Choo Train From Paper Tubes

I couldn't remember where I first saw this project but this has been in my to-do list for sometime now. Yesterday, I finally made the time to do it with Maia. It didn't turn out to be like the picture below but it was good enough for Maia to play with so it didn't really lose it's real purpose :)

Photo Source
The Project Was Supposed To Look like This

Materials We Used:
  • paper tube 
  • egg tray carton 
  • poster paint
  • paint brush
  • glue
  • cotton
  • tape
  • scissors
  • cutter

Kalat starts ... NOW!
How We Did It:

1. Cut the egg tray carton in half (keep the other half for future projects)
2. Assemble your painting materials (I usually dilute the poster paints so I keep clean water on hand)
3. Turn egg tray upside down (bottom facing up) and paint that part with your desired colors. Set aside to dry when the tray is fully coated with paint. Do the same for the paper tube.
4. Ask an adult to cut two half an inch circles from your spare paper tubes. Form into smaller circles about 1.5 inches in diameter
5. Stick the wheels under the two opposite sides of hollowed part of the egg tray carton.
6. Using quick drying glue, stick the painted paper tube unto the egg tray carton. 
7. Stick some cotton on top of the paper tube to represent a smoke stack. 


Tadah! You're done. Enjoy. :)

Here's what our project turned out to be:


Saturday, April 7, 2012

Arts-N-Crafts: Family Of Bunnies (Recycling Tissue Paper Tubes)

The day before we left for our Antique trip, Maia and I made a nice, easy project out of tissue paper rolls. I got the idea from (yes!) Pinterest and we just tweaked it to make use of the materials that we had on hand. The general idea was -- really -- to make use of the paper rolls that were already fast collecting dust in Maia's (future) bedroom-turned-storage-room. 

I showed Maia what our project was supposed to look a bit like and since she's had this thing for bunnies and rabbits for a few months now (she's been bugging us to get her a rabbit for a pet), she got really ecstatic about it. In fact, she got too excited she even took out all of the books she had about rabbits. I guess, she wanted to be more inspired so the more surrounded she is by bunny-related items, the better. 

I got about 5 tissue paper rolls from my stash. I surveyed my craft box for other stuff that we can use and eventually came out with this list:

- poster paint/tempera paint/watercolor
- pompoms
- used cardboard (this one was from a package of wooden clippies that Maia and I used for our picture hanger project)
- a pair of scissors
- white glue
- googly eyes (about 5 pairs)
- paint brush
- construction paper/scratch papers
- a few sheets of old newspaper 
- cotton balls
- felt fabric (for the nose)

First I asked the little girl how many bunnies she wanted us to make. She told me she wanted to make a family of bunnies. So I painted 2 brown, and cut about 2/3s of the other remaining two tubes and painted them orange and white. We set those aside to dry for about 10 mins.

Then I cut out ears from the scratch papers (2 pairs of big ones and 2 pairs of smaller ones). Then I also cut our 2 big pink noses and 2 small pink noses (heart-shaped). Maia also requested me to cut the remaining unused tubes into smaller pieces so she can paint them green to use them as grass. We also painted the last tube brown and I cut out a cloud shaped piece from the used cardboard to use as tree leaves. I painted it green and dotted it with yellow (according to Maia all trees have fruits so the yellow part represents the fruit). 

I'll just let the pictures speak after this. When we got back this afternoon, the entire thing is still intact so the little girl still intends to play with her bunny family tomorrow. 

lined the floor with used newspapers because i know it's going to get a little messy

majority of the materials we used
down on her knees. hard at work????
tadah! finished product :))

see we even made carrots for them to enjoy. and maia cut out these cardboards and stuck them on the paper herself.
they are apparently grass for the bunnies to roll and sleep on. 


Related Posts Plugin for WordPress, Blogger...